5 Savage Secrets: Unleash Raw Power with these Overlooked Strength Exercises!
By: Josh Bryant
Picture this: At Allsups, the air was thick with the scent of burritos and gasoline. Here was this ugly-as-sin trucker, built like a brick shithouse that spots this hot blonde struggling with her car, hood popped and smoke everywhere.
Without a second thought, he slides under her car and dead bench presses it like a feather. The blonde’s jaw drops faster than a tailgate at a rodeo!
She watches in admiration as he diagnoses the issue with the ease of a seasoned mechanic. As he dusts himself off and offers her a big ol’ Texas grin.
Together, they share a laugh and a cold Shiner Bock. And as they toast bottles, it becomes clear that being strong in the gym translates to real-life heroics—and heck, even increase your dating opportunities.
Here are five under-utilized lifts to build strength.
Exercise: Dead Bench Press
The bench press has an ascending strength curve, meaning it’s hardest at the bottom of the movement and gets easier as you push the weight up and your arms approach lockout. In a powerlifting meet, this is amplified because lifters are required to momentarily pause the barbell on their chest and wait for the referee’s single to press the weight.
Benefits: The dead bench press directly exposes and works the bottom weak point because the negative portion of the press is eliminated! You are forced to push the weight from a dead stop, contrasted to being helped by elastic-like energy that is stored on the negative portion of the lift. Because of this, you build tremendous power out of the bottom where you are weakest. Moreover, this movement builds starting strength and rate of force development (RFD), qualities that transfer to the field of play in more traditional sports. With the absence of the eccentric, you are able to build strength without adding muscle mass, very important for athletes that must remain within a weight class and/or need to maximize speed and explosive power.
Tips: Short-armed lifters should start the weight about a half an inch off the chest in the power rack and long-armed lifters start approximately an inch and a half off the chest, pushing the weight up as explosively as possible.
Bonus Tip: Never perform this movement for more than a single repetition because then the stretch reflex is introduced and the whole point of this exercise is to eliminate it.
Exercise: Dead Squat
Like the bench press, the weakest position in a squat is the bottom.
Benefits
Even though the squat has an ascending strength curve, many lifters come up a couple inches out of the hole in a squat before getting stuck. This begs the question, why? Because the elastic-like energy stored on the negative portion of the lift, i.e. the stretch reflex, drove them out of the bottom.
With dead squats you have to get the weight moving all by yourself, developing greater starting strength and activating more motor units. Basically, you are building strength in a position that will help eliminate the limiting factor (the point where the elastic energy stops assisting).
Dead squats offer transference to the deadlift, particularly the sumo variation and trap bar deadlift, and offer some carry to the conventional deadlift. Think about it, you are moving dead weight like the deadlift using many of the same muscles.
Tips
Start this movement approximately two inches above parallel, taller lifters may made need to go as much as four inches above parallel. Like dead benches only perform this movement for single repetitions. If you have a safety squat bar, I recommend using for this movement; if not, a straight barbell will suffice.
Bonus Tip
If you are training to specifically increase your sumo deadlift perform the movement with your sumo stance using the same hip angle, knee angle and foot placement as when you sumo deadlift.
Sticking Point Specific Isometrics
Sticking points happen because of a decreasing ability to produce force in a specific range of motion. This can be directly attacked with sticking point-specific isometrics.
Benefits
Isometrics performed properly have a very localized training effect; this is why the establishment rejects them and why they are embraced by many of my world-record setting clients and myself.
You are going to get inside of a power rack and push or pull the barbell as hard as you can for five to six seconds against the pins. Performing isometrics in this manner will strengthen the range of motion within 15 degrees of the joint angle you are training, this localized effect the establishment deplores, is also deplored by your sticking points because it systematically exterminates them.
By pushing as hard as you can in a weak region, you are overloading that region and your CNS is being programmed to become aggressive in that region. That is why this method is superior to static holds. You can also produce approximately 15 percent more force isometrically than you can concentrically—this maximum force can also be maintained for a hell of a longer by some estimates as much 15 times longer.
Tips
Isometrics can successfully be used to bring up a sticking point in any movement, the biggest carry over my athletes and myself have experienced thus far are with bench presses, overhead press and deadlifts, but in theory they will work for any lift, even ones like biceps curls.
Begin by lifting the barbell to the pins in the power rack set at the specific region you want to target. Push or pull as hard as you can against the pins for five seconds Visualize yourself lifting the power rack off the floor, ripping the bolts out.
After this is complete, wait two to three minutes, and perform the full range of motion version of the exercise you are training with a set of 60 to 80 percent of your one-repetition max for one to three reps, with intention of moving the barbell as fast possible. This insures transference to the movement you are training and you will be more explosive with full range of motion sets because of post-activation potentiation, or the PAP effect; which in the words of the late Yuri Verkhoshansky, “is like lifting a half of can of water when you think it’s full.”
Perform these isometrics for up to three sets per sticking point and no more six sets total per workout.
Bonus Tip
Do not use isometrics for more than 6 to 8 weeks at a time, their effectiveness will wear off.
Farmer’s Walk
Anything that requires explosive power, athleticism, grip strength, overall limit strength and core strength will benefit from the farmer’s walk. So, pop the Bosu ball and I’ll introduce you to some real functional training.
Benefits
The farmer’s walk involves walking while holding weights at your side. As technique is mastered, the objective is no longer to walk but to move as fast as possible.
Pundits classify farmer’s walks as a grip test. While grip at the high level for the symmetrical, well-trained athlete will be the limiting factor, farmer’s walks do, in fact, build the entire body.
I have yet to meet someone great at the farmer’s walk that did not have an intimidating set of traps that would scare would-be attackers at the gas station at 3 AM and attract the kind of women your mother warned you about. Furthermore, core stability, leg strength, calf strength and the strength of the entire posterior chain (back side of the body) are worked by training farmer’s walk. Nothing is more functional than picking up heavy stuff and having to move with it.
Tips
In strongman competitions and training centers, specialized farmer’s walk implements are used. No access to handles, no problem! Grab a pair of weighted barbells or even dumbbells will work.
Go to an area with plenty of open space, set the implements parallel to one another on the floor. The handles should be approximately shoulder width apart so you are able to stand in between them.
Reach down and grab each handle and stand back up with the implements at your side. Begin to walk forward with short, quick steps; as you are comfortable with the weight you can begin to move faster and lengthen steps. Do this for the desired distance.
A good starting point with farmer’s walks is three to four sets of 50 to 100 feet. If you have never done these before a good starting point is 60 percent of your deadlift max. Meaning if you can deadlift 300 pounds, you would start with 180 pounds or 90 pounds in each hand. Once you get the hang of the movement, you will be able to rapidly progress.
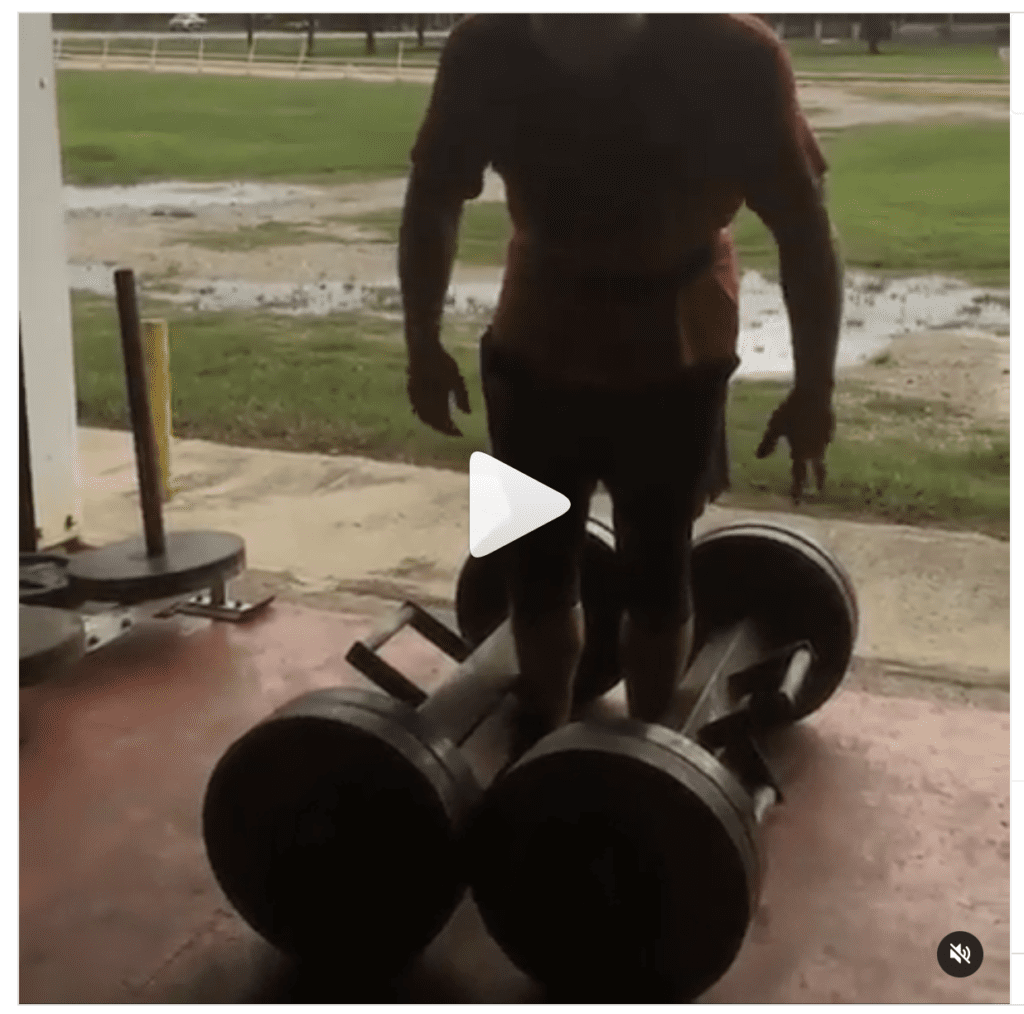
Tom Emelander, World Class Deadlifter, performing farmer’s walks with 350 each hand:
Bonus Tip
This is a strength article but I know some of our readers want to grow huge traps; if this is your objective perform farmer’s walks for 50 feet, at the end complete shrugs with the implements without dropping them for 15 reps. If grip is the limiting factor, wear straps—the objective is growth.
The Yoke
The squat and deadlift are tough to beat when it comes to head to toe muscle fiber recruitment, but the yoke is in a class by itself.
Benefits
Once you get the hang of the yoke you will be using a lot more weight than you can squat. Because of the fact you are putting your body under a much heavier load that it is accustomed and then taking it on a stroll, you are going to invoke a stimulus that is literally impossible to duplicate in any other way.
The yoke will simultaneously build limit strength, strength endurance, core stability and explosive power while working virtually every muscle in the body. Not to mention make heavy squats feel a whole lot lighter!
Tips
Set the cross bar to the appropriate height, at approximately a quarter squat, eventually you may like it higher but this is a good starting point. Experiment with different hand placements and find one that allows you to get tight and build a shelf with your upper back for the yoke to rest on.
Like squatting, get under the bar, take in big air like you would for squatting, getting as tight as possible and pick the yoke up. Once you are standing up, let the weight settle before stepping forward. Then, taking small, quick steps, walk as fast as you can for the desired distance, 30 feet for two to three sets is a great starting point. Maintain tightness not only for safety but any side to side or up and down movement makes the yoke swing, which in the best case scenario slows you down, in the worst case causes injury. Take small breaths as you go, large ones will cause you to loose tightness and stability.
Final Thoughts
“Weakness is a crime,” was the gym slogan when I trained at Paul Leonard’s Yorba Linda Barbell Club in the early 2000s.
Did you know that recently researchers from the Winston-Salem State University in North Carolina found that men and women under 30 have weaker grip strength than they did back in 1985? Their work was published in the Journal of Hand Therapy.
Excluding high level strength athletes, as this study show people are getting weaker. Don’t become guilty of this crime, use these exercises to become strong.
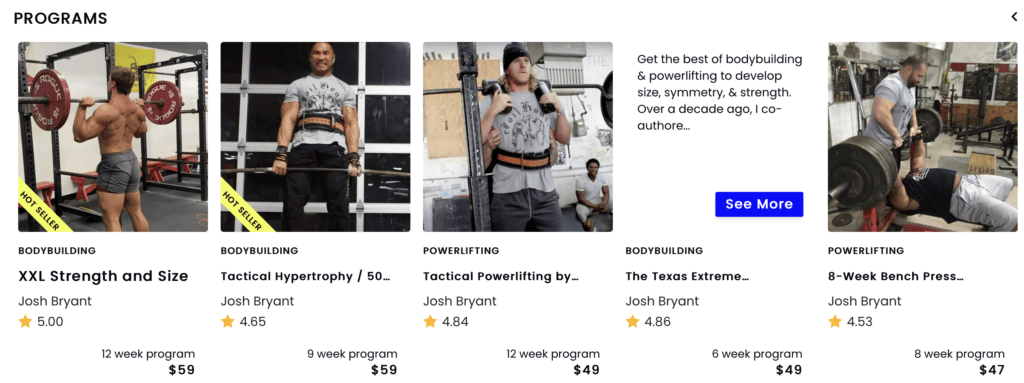
Put into practice with one of Josh’s programs HERE.